



A Laravel starter kit built on the TALL Stack, along with Volt and Folio.
Genesis needs PHP 8.3+.
You can use the Laravel Installer to install Genesis.
laravel new my-app --using=devdojo/genesisThen, run composer run dev to run the asset watcher, and you're good to go!
Below is a list of all the technologies that Genesis has been built with:
Learn how to install and configure Genesis below.
Currently Genesis creates 12 routes including the homepage, authentication, dashboard view, and a few others. You can see all the routes currently in your application by using the php artisan folio:list command:
  GET       / ................................................ index.blade.php
  GET       /auth/login ................................. auth/login.blade.php
  GET       /auth/password/confirm ........... auth/password/confirm.blade.php
  GET       /auth/password/reset ............... auth/password/reset.blade.php
  GET       /auth/password/{token} ........... auth/password/[token].blade.php
  GET       /auth/register ........................... auth/register.blade.php
  GET       /auth/verify ............................... auth/verify.blade.php
  GET       /dashboard ............................. dashboard/index.blade.php
  GET       /genesis/about ........................... genesis/about.blade.php
  GET       /genesis/power-ups ................... genesis/power-ups.blade.php
  GET       /learn ..................................... learn/index.blade.php
  GET       /profile/edit ............................. profile/edit.blade.php

                                                           Showing [12] routes
Let's cover each of the pages provided by Genesis.
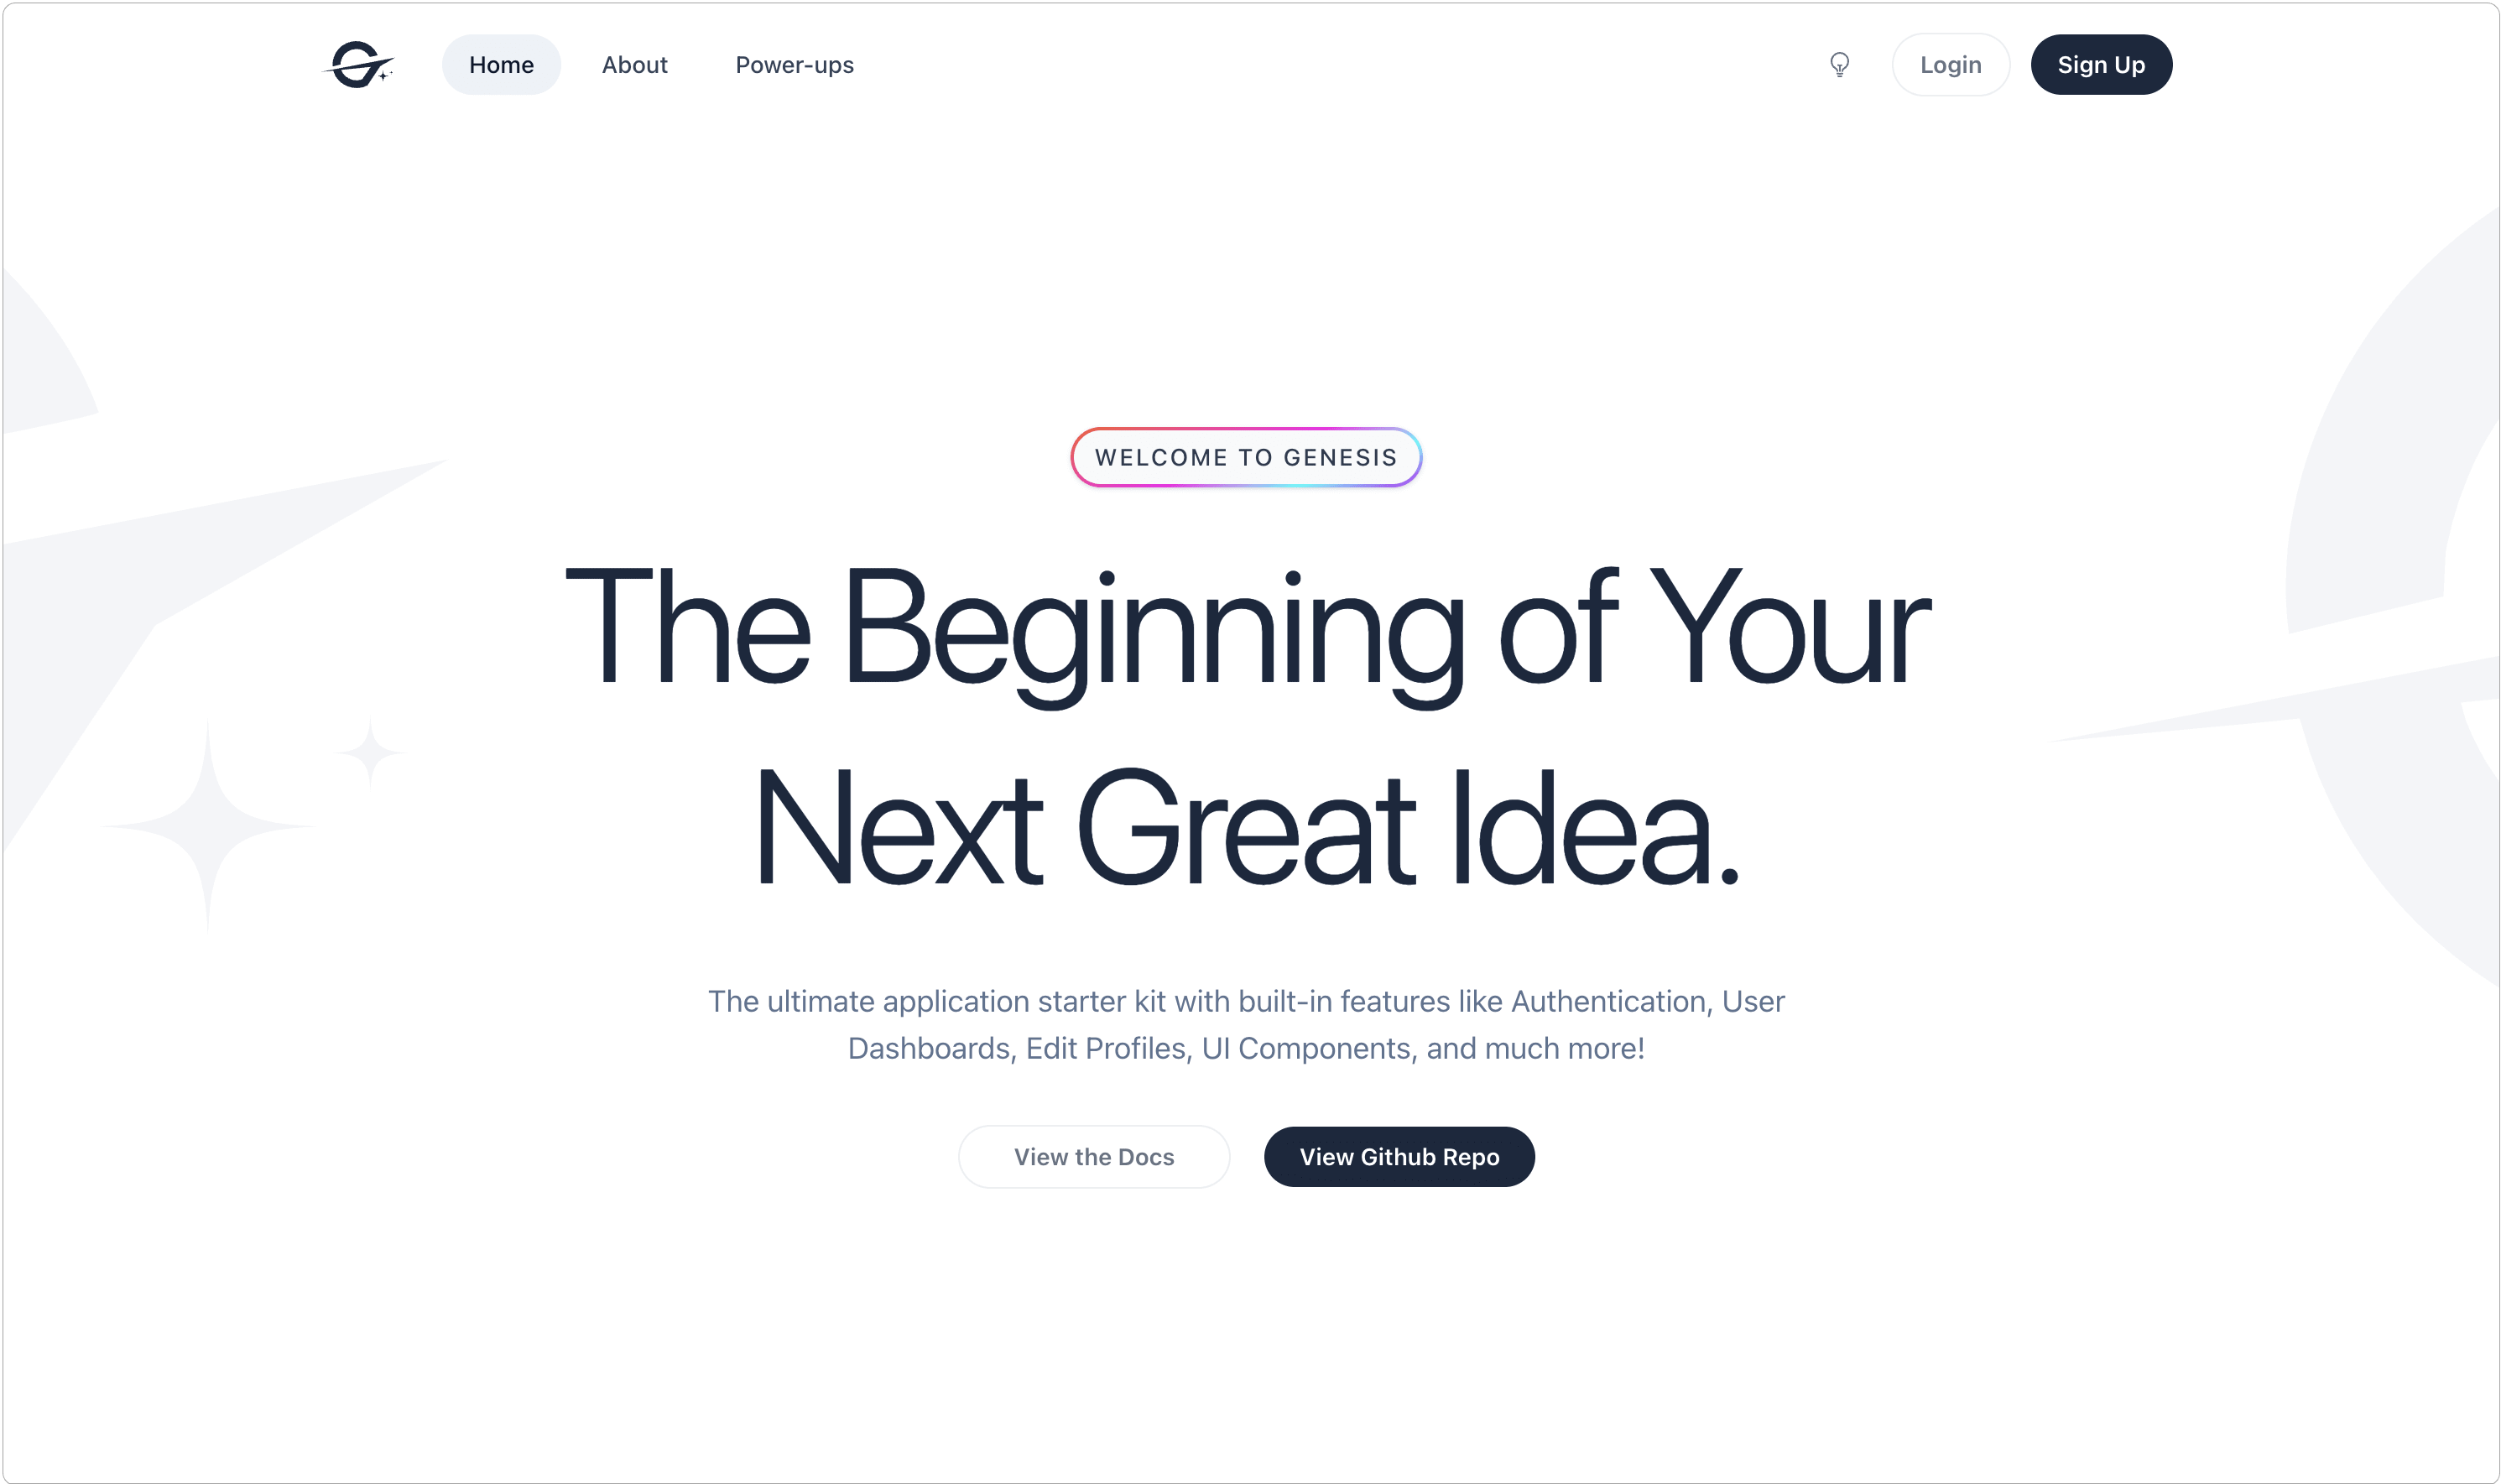
The homepage (screenshot shown above 👆) is located at resources/views/pages/index.blade.php. This file as well as all the other pages are utilizing Page-based routing thanks to Folio.
This file contains a middleware redirect-to-dashboard which is registered at the top of the file:
middleware(['redirect-to-dashboard']);
This will redirect an authenticated user to the dashboard when they try and visit the homepage. You can simply remove this line if you do not wish to redirect the authenticated user.
This is a simple about page, located at resources/views/pages/genesis/about.blade.php, that you can feel free to remove or use in your application. This page also contains the ui/marketing/breadcrumbs.blade.php component which can also be used on any other marketing page.
Located at resources/views/pages/genesis/power-ups.blade.php, this page lists the power-ups you can add to your app, like the Blog power-up. Power-ups are added by hand: copy the files from the power-up's repo into the same paths in your app, then run php artisan migrate. The page explains the steps.
All the authentication files are located inside of the resources/views/pages/auth folder. These files are mapped to routes thanks to Folio. Here are the current authentication routes:
- login.blade.php
- register.blade.php
- verify.blade.php
- password/confirm.blade.php
- password/reset.blade.php
- password/[token].blade.php
The dashboard page is very minimal which makes it very easy for you to customize. You'll notice that this page has the following middleware:
middleware(['auth', 'verified']);
You will probably want to add this middleware to many of your application pages where you want to make sure that the user is authenticated and verified.
The edit profile page is located at resources/views/pages/profile/edit.blade.php, and it can also be loaded by visiting url.com/profile/edit. This file contains the same middleware as the dashboard page, which means that users must be authenticated and verified before visiting.
This page has three different sections
- Update profile section where users can update the name and email in their profile.
- Update password section where users can update their password.
- Delete profile section where users can delete their profile.
To learn more about this file, visit the documentation in the Wiki here.
This page displays your project's README.md, the file you are reading right now. It reads the local file, so it always matches the version you have installed.
Within Genesis there are three layouts, located inside of resources/views/components/layouts:
- app.blade.php - This is the layout for any pages inside associated with your application (user must be authenticated)
- marketing.blade.php - This is the layout used for pages like your homepage, blog, and any other marketing pages.
- main.blade.php - This is the layout that contains the main HTML structure of your website. Both the app and marketing template inherit from this main template.
You can use these layouts as follows:
<!-- App Layout -->
<x-layouts.app>
    <!-- content here... -->
</x-layouts.app>

<!-- Marketing Layout -->
<x-layouts.marketing>
    <!-- content here... -->
</x-layouts.marketing>

<!-- Main Layout -->
<x-layouts.main>
    <!-- content here... -->
</x-layouts.main>
To set the page title, pass a title to any of the layouts. If you leave it out, it falls back to your APP_NAME:
<x-layouts.app title="Dashboard">
    <!-- content here... -->
</x-layouts.app>
There may be times when you want to use the Main Layout for a page. These might be use-cases where you don't need the app or marketing header/footer content. For instance, the auth pages inherit the main layout
We are also providing a handful of Blade Components that you can use in your new application which are located inside of resources/views/components/ui. These components include:
- badge
- button
- checkbox
- input
- light-dark-switch
- link
- logo
- modal
- nav-link
- placeholder
- slide-over
- text-link
There are also two folders inside the UI components which include app and marketing. Each of which correspond to the available app and marketing layout. Here are the components available in those folders:
- app.header
- marketing.header
- marketing.breadcrumbs
- marketing.page-header
All these components are pretty self-explanatory; however, you may want to look into how each one works so that way you can get the most out of it.
Updating the logo throughout your application is as easy as updating the logo.blade.php component with your logo SVG or image.
Genesis has some basic tests to test out the authentication functionality. The tests use Pest and run against an in-memory SQLite database, so your local database is never touched. You can run them with the following command:
composer testThe tests live in the tests/Feature folder, with the authentication tests in tests/Feature/Auth.
There may be times where you'll see Line numbers printed out in the view causing a weird layout and output. You'll want to run php artisan view:clear to clear the compiled views.
If you are seeing an error on http://localhost:5173, reinstall the packages from the lock file:
rm -rf node_modules
npm installAPP_URL will be set differently according to how you install laravel. Some might use the laravel installer some may use composer. Vite is serving on http://localhost:5173 while other parts of the app are using http://[::1]:5173.
For best results, install with:
composer create-project devdojo/genesis genesis-appthen change your APP_URL in your .env:
APP_URL=http://127.0.0.1:8000then start the app and the asset watcher together:
composer run devOutside local, the app only answers to the host in APP_URL (and its subdomains). Make sure APP_URL is set to your real domain when deploying, e.g. APP_URL=https://example.com, or every request will return a 400.
The MIT License (MIT). See the license field in composer.json.